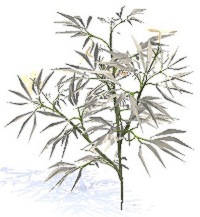
Here I have a plant that I've
created in PlantStudio and named Spengler. I want to bring it into Vue for
3D rendering.
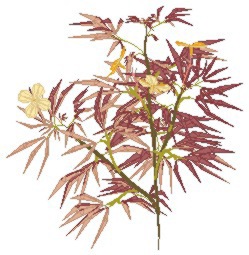
As I examine the model as it appears
in PlantStudio, I realize I'll need to have a way of coloring the stem different
from the leaves, and coloring the leaves different from the flowers, etc.
So I export the model from PlantStudio such that each type of plant part
is on its own layer.
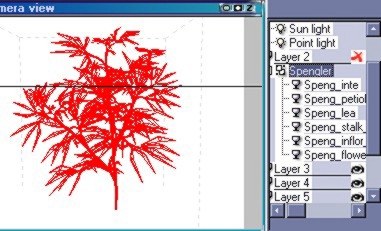
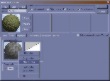
When the DXF model is imported into
Vue, it's easy to see that Spengler is made up of several objects. (This
model also included a Speng_meris object, but since the meristems were extremely
small, I deleted that object. Those polygons can be used for something else
in the scene.) Spengler is now composed of 6 objects: internode, petiole,
leaves, stalk, inflor, and flowers. We're going to create materials for these
objects so that when rendered, the Spengler model will resemble its PlantStudio
image.
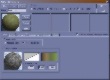 1 - When applying materials
to a plant, I like to begin at ground level and work my way upward. So the
first thing to do is create a material for the internodes, which are the
main branches. Right-click the Material display for Speng_inte to open the
Material Editor, then select (or create) a Color Map and add a Color Function,
as we did for a single-layer plant in the previous tutorial. 1 - When applying materials
to a plant, I like to begin at ground level and work my way upward. So the
first thing to do is create a material for the internodes, which are the
main branches. Right-click the Material display for Speng_inte to open the
Material Editor, then select (or create) a Color Map and add a Color Function,
as we did for a single-layer plant in the previous tutorial.
(Follow the thumbnail links to view full-size
images.)
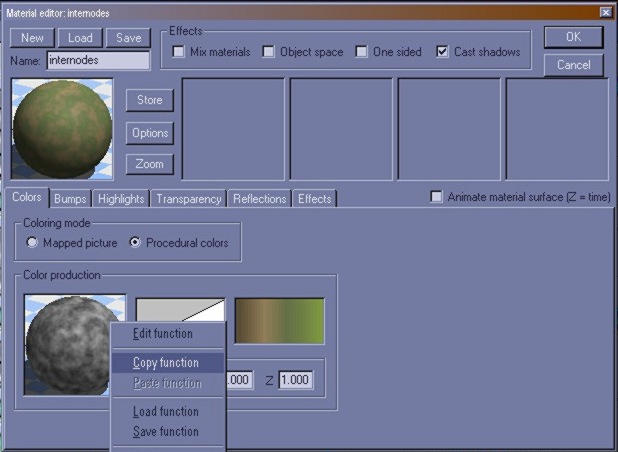
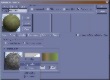 2 - Let's also
add a Bump to the internodes, and let's do it the easy way. We already have
a nice function set up for Color Production, so right-click the Color Production
display and select Copy Function. 2 - Let's also
add a Bump to the internodes, and let's do it the easy way. We already have
a nice function set up for Color Production, so right-click the Color Production
display and select Copy Function.
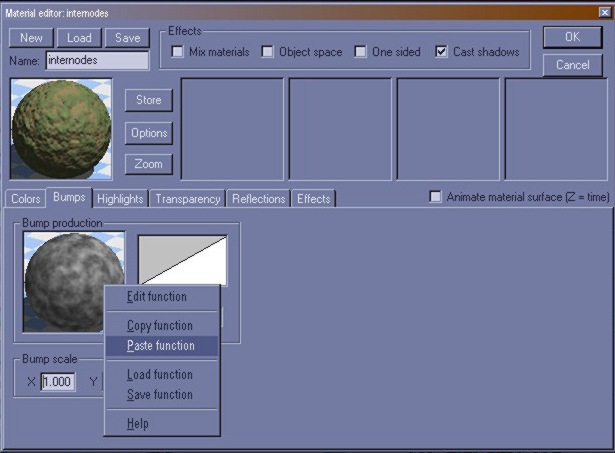
 3 - Now move
to the Bump tab, right-click the Bump Production display and select Paste
Function. Our new bumps show up immediately, and using Copy/Paste saved us
a few steps. Too, our bumps follow the exact same flow as our colors. 3 - Now move
to the Bump tab, right-click the Bump Production display and select Paste
Function. Our new bumps show up immediately, and using Copy/Paste saved us
a few steps. Too, our bumps follow the exact same flow as our colors.
4 - Bumps in Vue tend to come on
strongly, so lower the Gain setting until the bumps seem more natural.
5 - Move to the Highlight tab and
watch the preview display as you choose settings.
 6 -
When you are satisfied with your new material's appearance, exit the Material
Editor, perform some preview renderings and adjust the overall Scale of the
material to be visually proportional with the plant object. 6 -
When you are satisfied with your new material's appearance, exit the Material
Editor, perform some preview renderings and adjust the overall Scale of the
material to be visually proportional with the plant object.
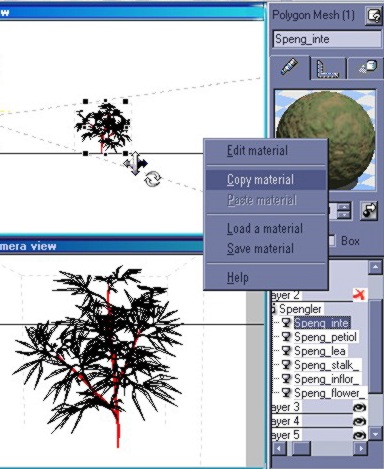
 7
- Moving up the model, the next objects are Speng_stalk, Speng_inflor and
Speng_petiol -- all of which are very similar items to the internodes, as
they are parts of the branching system of the plant. The PlantStudio image
suggests that the branch base is a medium-dark olive green, growing progressively
lighter and more yellow as it climbs to the leaves and flowers, so we will
vary the materials on these different parts. The materials need to be *similar*,
however, to let them appear to be all continuous portions of the same plant.
To make the materials both different and similar easily, we'll first select
Speng_inter, right-click the Material display of the internode material we
just created, and choose Copy Material. 7
- Moving up the model, the next objects are Speng_stalk, Speng_inflor and
Speng_petiol -- all of which are very similar items to the internodes, as
they are parts of the branching system of the plant. The PlantStudio image
suggests that the branch base is a medium-dark olive green, growing progressively
lighter and more yellow as it climbs to the leaves and flowers, so we will
vary the materials on these different parts. The materials need to be *similar*,
however, to let them appear to be all continuous portions of the same plant.
To make the materials both different and similar easily, we'll first select
Speng_inter, right-click the Material display of the internode material we
just created, and choose Copy Material.
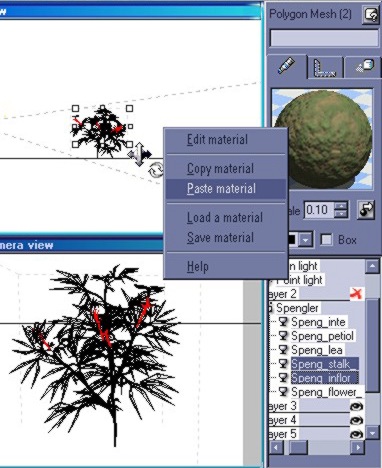
 8 - Now select
the next object, Speng_stalk, right-click the Material display and choose
Paste Material. (We are pasting *only* to Speng_stalk, *not* to two items
as this figure erroneously shows.) 8 - Now select
the next object, Speng_stalk, right-click the Material display and choose
Paste Material. (We are pasting *only* to Speng_stalk, *not* to two items
as this figure erroneously shows.)
The next few steps move along something
like an assembly line.
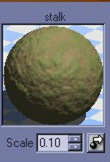 9 - Open the Material
Editor for Speng_stalk. We want to make only minor variations to the material
so that it remains similar to, but is still different from, the internodes
material. So we will lighten/yellow the color map slightly and also reduce
the Bump Gain slightly. That is all the change needed. Be sure to also rename
the new material so that you'll know which plant part it's for. 9 - Open the Material
Editor for Speng_stalk. We want to make only minor variations to the material
so that it remains similar to, but is still different from, the internodes
material. So we will lighten/yellow the color map slightly and also reduce
the Bump Gain slightly. That is all the change needed. Be sure to also rename
the new material so that you'll know which plant part it's for.
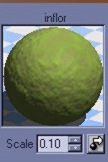 10 - Copy the
new stalk material and paste it onto the Speng_inflor object. Open the Material
Editor for the Speng_inflor material, lighten/yellow the color map slightly
and also reduce the Bump Gain slightly. Give the material a new name. 10 - Copy the
new stalk material and paste it onto the Speng_inflor object. Open the Material
Editor for the Speng_inflor material, lighten/yellow the color map slightly
and also reduce the Bump Gain slightly. Give the material a new name.
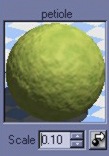 11 - Copy the
inflor material and paste it onto the Speng_petiol object. Open the Material
Editor for the Speng_petiol material, lighten/yellow the color map slightly
and also reduce the Bump Gain slightly. Give the material its new
name. 11 - Copy the
inflor material and paste it onto the Speng_petiol object. Open the Material
Editor for the Speng_petiol material, lighten/yellow the color map slightly
and also reduce the Bump Gain slightly. Give the material its new
name.
 Well, that was easy! If
we do a preview render now, we can see our new materials at work, beginning
with a medium olive green at the base and progressively becoming lighter,
more yellow, and smoother towards the flowers and leaves. Well, that was easy! If
we do a preview render now, we can see our new materials at work, beginning
with a medium olive green at the base and progressively becoming lighter,
more yellow, and smoother towards the flowers and leaves.
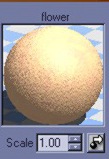 12 - Speaking
of the flowers and leaves, they are the next targets. By now, you know the
routine. One at a time, open the Material Editor for each object. Set up
a color map and color function. Set a Bump function if desired. Set the
highlight. Test with preview renders and set the material scale appropriately.
(I like to go to the Effects tab and raise the Ambience of flower materials
just a wee bit, say to 50 or 60%. It's a minor technique that helps blossoms
stand out better from their leafy
surroundings.) 12 - Speaking
of the flowers and leaves, they are the next targets. By now, you know the
routine. One at a time, open the Material Editor for each object. Set up
a color map and color function. Set a Bump function if desired. Set the
highlight. Test with preview renders and set the material scale appropriately.
(I like to go to the Effects tab and raise the Ambience of flower materials
just a wee bit, say to 50 or 60%. It's a minor technique that helps blossoms
stand out better from their leafy
surroundings.)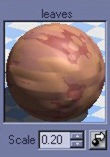
13 - As you render previews, check the appearance of all the new materials.
This is the time to make minor adjustments, tweak the color maps, or experiment
with different functions and settings.
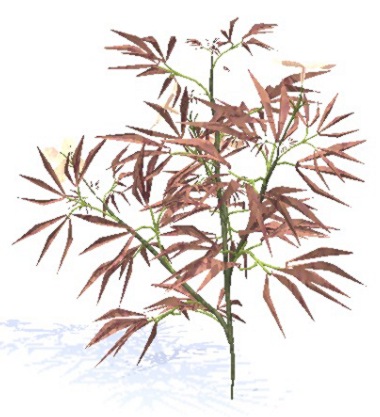
14 - Finally, the multiple layer
PlantStudio model is ready. Be sure to save the finished model to preserve
the materials, then take the time to admire your handiwork!
Download
Spengler VOB model with complete materials as shown and described in this
tutorial. (648 kb)
|