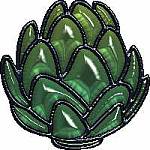
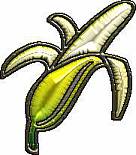
More examples of what
Glassmaker can achieve.
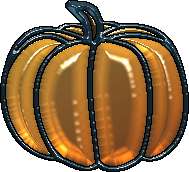
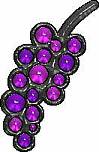
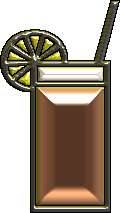
Please remember that all
images are copyrighted.
Thank you.
 |
Work
with an image that has a bold outline and clear divisions between sections
or color areas.
Unlike most presets, Glassmaker
does its best work when you provide a base fill color on the image. When
your divisions have been determined, fill each one with an appropriate color,
using white only for areas you want to give the palest tone to. Medium gray
as a base is recommended to achieve a stained glass "lead" effect on the
outlines. Using gradients in the color areas (as I did with the "Glassmaker"
sample above) can give some very good results.
When your base colors have been
applied to the image, select individual areas on which to apply Glassmaker.
While you can select more than one area at a time, it is best if these areas
are separate and do not touch each other. I'd start with the "lead"
outline.
After applying Glassmaker and while
the section is still selected, you'll achieve richer colors by Brightening
it at this point by 15-20 steps. Experiment and see what works best for you.
The darkest areas, such as the "lead" and those meant to appear blackish,
should not be Brightened.
That's all there is to it! Glassmaker
and Blade Pro do the rest.
 |